Homebrew makes installing PHP and so many other great tools on macOS a breeze; almost as easily as a Linux package manager. But how do you install the Imagick extension? In this short post, I’ll show you the shortest way to do so.
Recently, I was building a small PHP application that uploads and stores images in SQLite; a mini Flickr if you will.
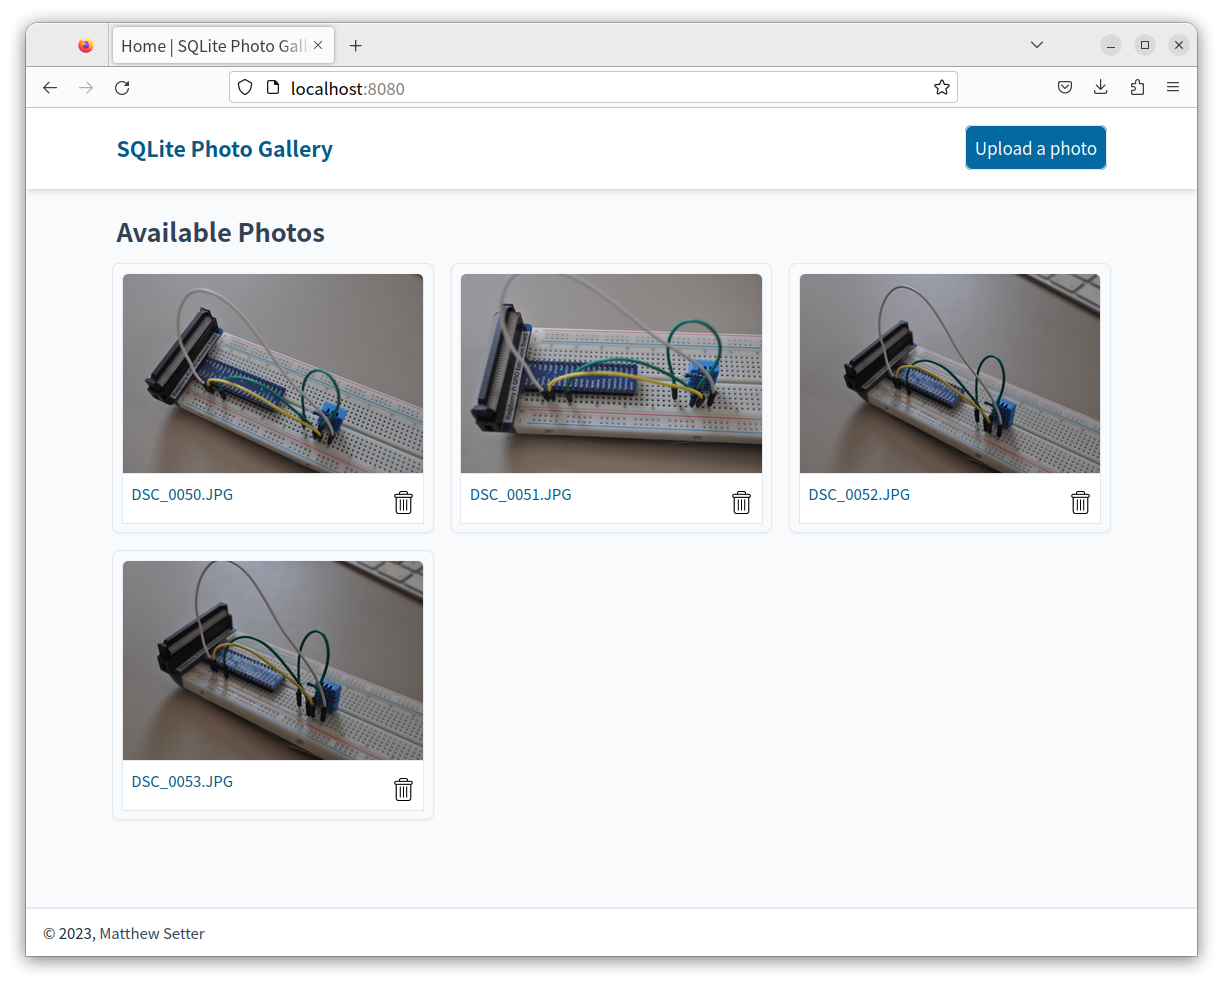
During the upload process, the ImageMagick extension is used to retrieve a range of properties about the file being uploaded, such as its width and height, image depth, and colour space.
This information is displayed along-side an image when a user views it, as you can see in the screenshot below.
I started out developing the application on Linux, but moved to macOS while I was finishing it.
After cloning the application locally from GitHub I ran composer install only to encounter the issue below.
Problem 1
  - Root composer.json requires PHP extension ext-imagick but it is missing from your system. Install or enable PHP's imagick extension.

To enable extensions, verify that they are enabled in your .ini files:
  - /usr/local/etc/php/8.1/php.ini
  - /usr/local/etc/php/8.1/conf.d/ext-opcache.ini
You can also run `php --ini` in a terminal to see which files are used by PHP in CLI mode.
Alternatively, you can run Composer with `--ignore-platform-req=ext-imagick` to temporarily ignore these required extensions.
Clearly, I hadn’t thought to check if the Imagick extension was installed, such as by running php -m | grep -i imagick.
Given that, the next question was: how do I install it?
While I’ve been using macOS for at least the last 10 years, I still do most of my development work on Linux.
So, unlike when using Linux, it wasn’t quite as clear to me how to install the extension — even with the awesome Homebrew.
After a little bit of reading, however, I came across the solution, which I’m going to step through now.
Before you get started though, make sure that you have Homebrew installed, and that you’ve installed PHP using it.
Install Imagick and pkg-config
The first things to do are to install Imagick and pkg-config.
The PHP extension depends on Imagick as it’s effectively a C wrapper around it.
PECL needs pkg-config to install and compile the extension.
To install them using Homebrew, run the following command.
brew install imagemagick
brew install pkg-config
Allowing for the speed of your internet connection and your Mac’s hardware, this should only take a minute or so.
Use Pecl to install the Imagick extension
The next thing to do is to install the Imagick extension using PECL, by running the following command; you may have to use sudo, if you’re on macOS, Linux, or *BSD.
sudo pecl install imagick
You don’t have to install PECL directly, as it’s installed by Homebrew as part of installing PHP.
When the installation’s complete, you should see output similar to the following at the bottom of the command’s terminal output.
Build process completed successfully
Installing '/usr/local/Cellar/php@8.1/8.1.20_2/include/php/ext/imagick/php_imagick_shared.h'
Installing '/usr/local/Cellar/php@8.1/8.1.20_2/pecl/20210902/imagick.so'
install ok: channel://pecl.php.net/imagick-3.7.0
Extension imagick enabled in php.ini
If so, the extension was successfully installed.
Check that the extension’s installed
Now, like most things when it comes to computers, it’s good to check.
So, if you run the following command, you should see imagick printed to the terminal.
If you have grep installed and want to save yourself some time and effort, scanning through the list of extensions printed to the terminal, run the following command instead.
That’s how to install PHP’s Imagick extension on macOS
So, if you’re developing with PHP on macOS and need to install the Imagick extension, that’s the short guide on how to.
To be fair, I’ve only tested it on PHP 8.1, as that is the version of PHP I currently have installed.
So, for other versions, you mileage may vary.
ImageMagick logo is sourced from Wikipedia.


Join the discussion
comments powered by Disqus